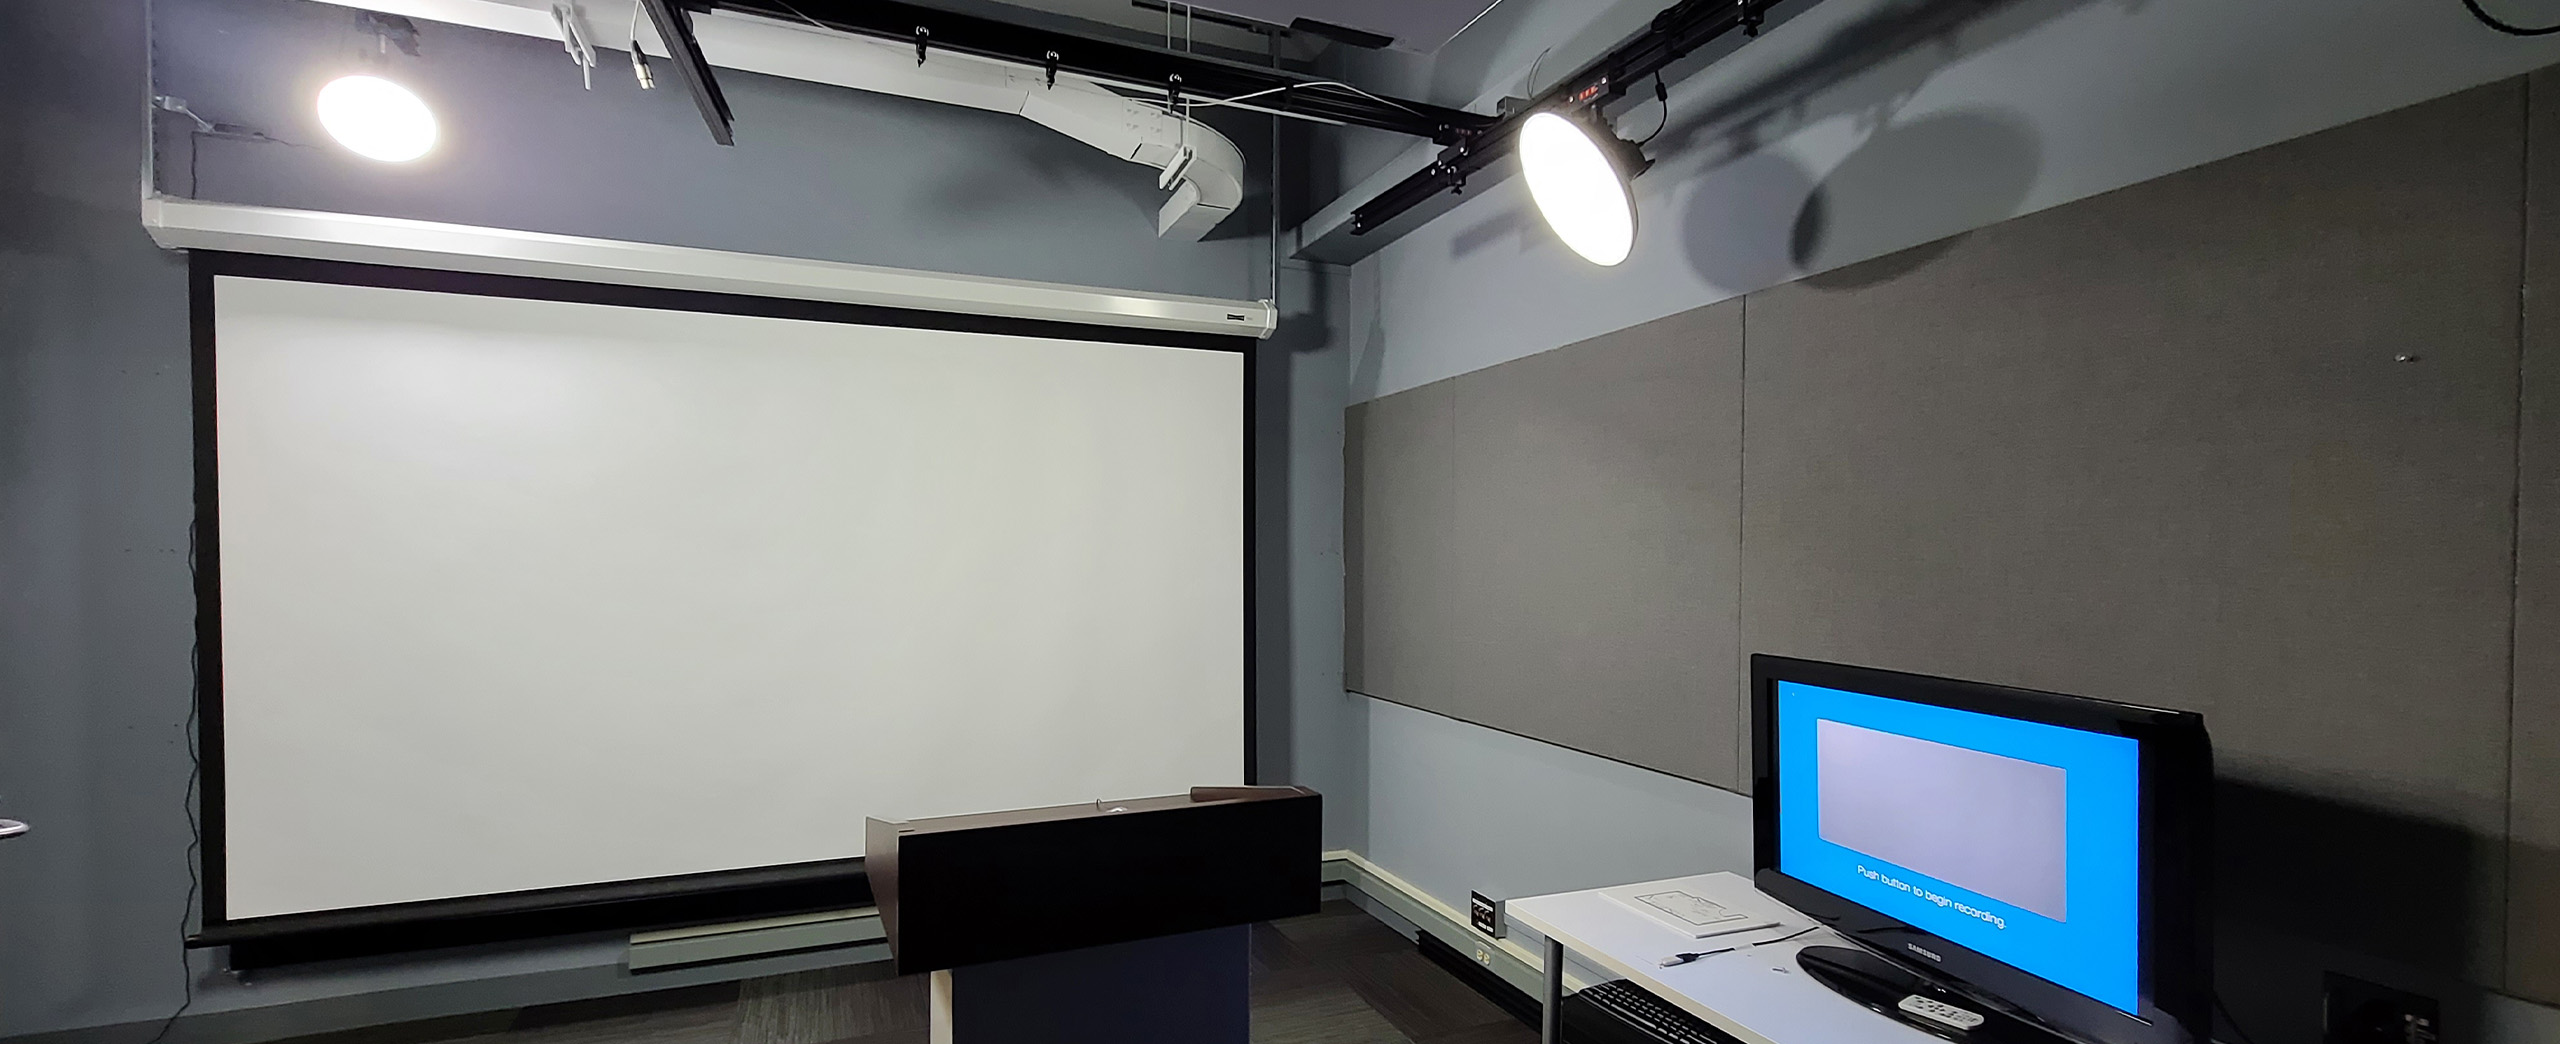
At the start of your session, our staff will help you start the initial setup of your presentation. We'll ask you to plug in your USB and then to let us know whether you need to plug in your laptop to display sides. If so, we'll follow up and ask you whether you would like a digital overlay option (clearer image, but doesn't allow for hand pointing) or using the legacy projector system, which utilizes the overhead projector to project the slides on the white screen behind you. If using the digital overlay option, we can automatically apply a 4:3 crop on your projector output slides, if your powerpoint is still configured to the older format.
If this is your first time, we'll show you how to start/stop the recording and the different layout options that each button on the control panel does. Afterwards, you're good to go! The video is automatically saved as a video file onto your attached USB drive once the recording is done. There is no need to adjust the lighting or sound, as the room is fully setup for optimal recording conditions.
Steps to a Successful Recording
1. Download our script & storyboard template here to prepare what you'll be talking about".
2. Prepare any powerpoints or visuals if needed in the presentation.
3. Relax and enjoy the session, it's just you and the camera!.
Please bring a USB drive and a laptop with your presentation content (if applicable) to your booking time.
Step 1
Step 2
Step 3
Why the DIY Recording Studio?
Like the Lightboard, our DIY Recording Studio is a standalone technology that outputs high-quality video that is ready to be uploaded and shared on online media platforms. The DIY Recording Studio specializes in formalized presentations and announcements, as users are able to show PowerPoint presentations and images during the recording.
The DIY Recording Studio is great for:
-Creating video presentations and to supplement lectures, reinforcing and emphasizing concepts that are harder to explain.
-Creating full lectures for the use of distant education, or as a substitute for a lecture if a professor is unable to make a class due to a time-conflict (eg. academic conference).
Frequently Asked Questions
Q: Can I film an interview with the DIY Recording Studio?
A: The DIY Recording Studio is designed for presentation styled videos with limited room for adjustments in terms of lighting, camera position and staging. Interviews are not recommended to be filmed in this studio.
Q: What are the default video specs of the DIY Recording Studio?
A: The current video specs is 4K UHD (3840x2160) @ 29.97fps. The bitrate is around 7mbps
Q: I am a student, can I use the DIY Recording Studio?
A: The DIY Recording Studio is free for content created for UBC. To ensure this, if you are a student - please have a Faculty/Staff email us with your name and use case.
Q: Are there any resources for me that I can use to prepare for my session?
A: We recommend checking out general videos on how to create effective videos, or visiting our mediamakers site.
